|
CAPTAIN ZAMBIA SHIELD IN PHOTOSHOP
I'm a big fan of superheroes and being Zambian I thought i would make a Captain Zambia shield tutorial to celebrate my passion. Enjoy RESOURCES
STEP 1
Open Photoshop and create a new document. The document size I used is A4 landscape. Fill the background layer with black using the Paint Bucket Tool (G). 
STEP 2
With the Ellipse Tool (U) create a circle in the center of the document using red (#d51a37) for the color. 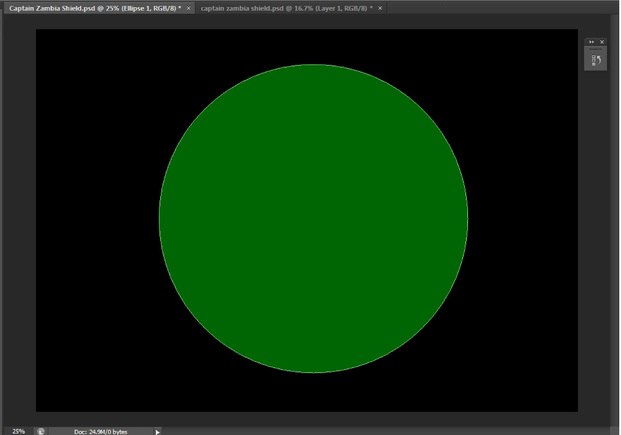
STEP 3
With the Magic Wand Tool (W) select the area of the circle and then add a new layer on top of the red layer. 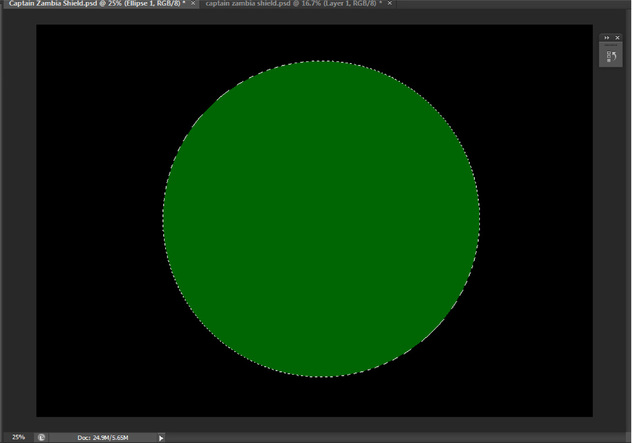
STEP 4
Fill the new layer with white using the Paint Bucket Tool (G). 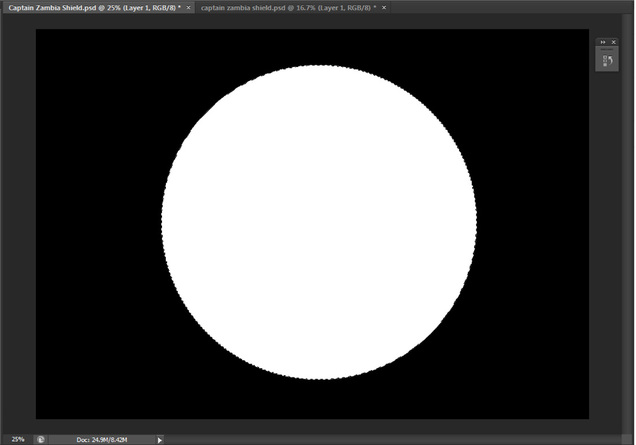
STEP 5
Go to Filter>Noise>Add Noise. Make sure you have black and white for the background and foreground colors. Use 150% for the Amount, Gaussian for the Distribution and select Monochromatic. 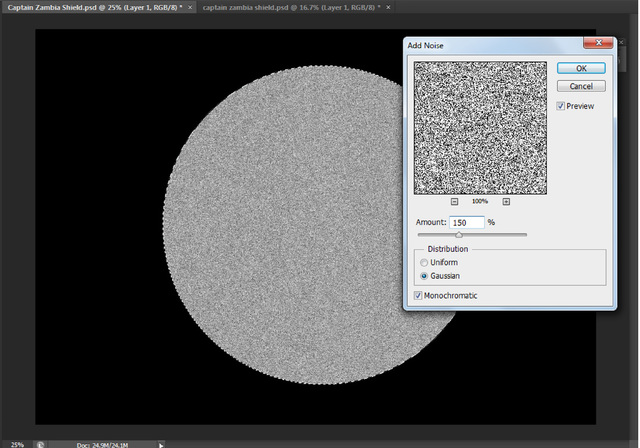
STEP 6
With the marquee selection still active go to Filter>Blur>Radial Blur. Use 40 for the Amount, Spin for the Blur Method and Best for the Quality. 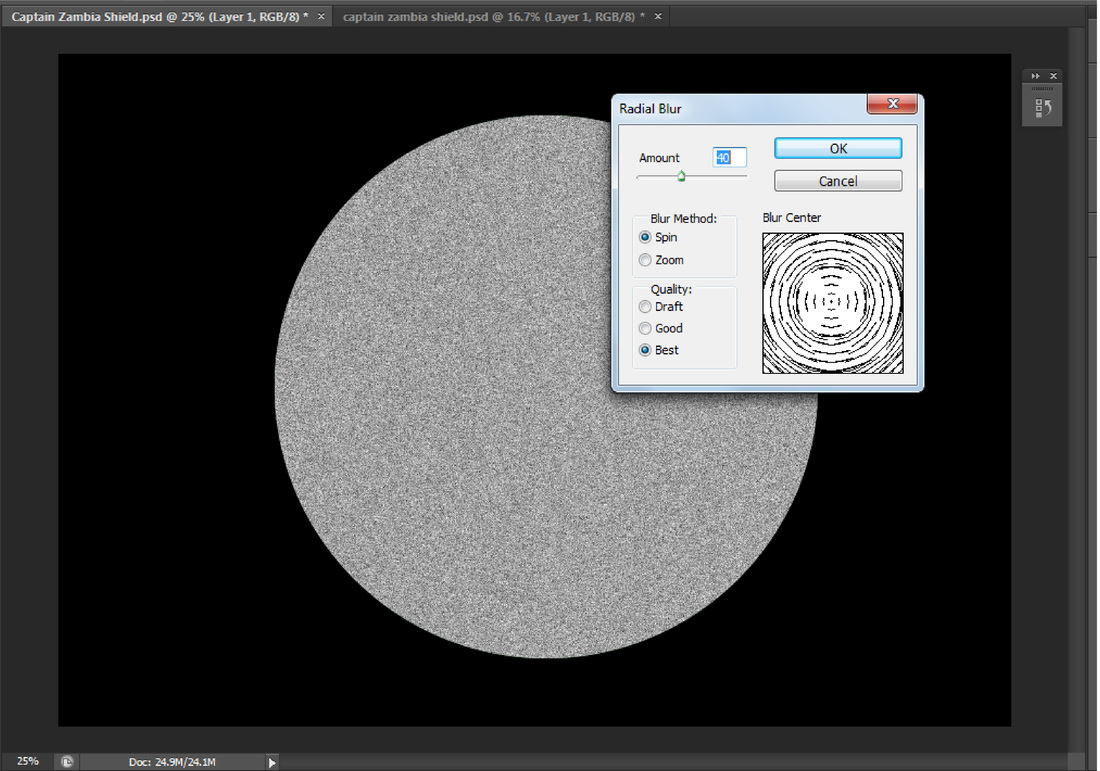
STEP 7
Go to Image>Adjustment>Levels. Change the Input Levels using 103 for the black, 1.00 for the grey and 192 for the white inputs. 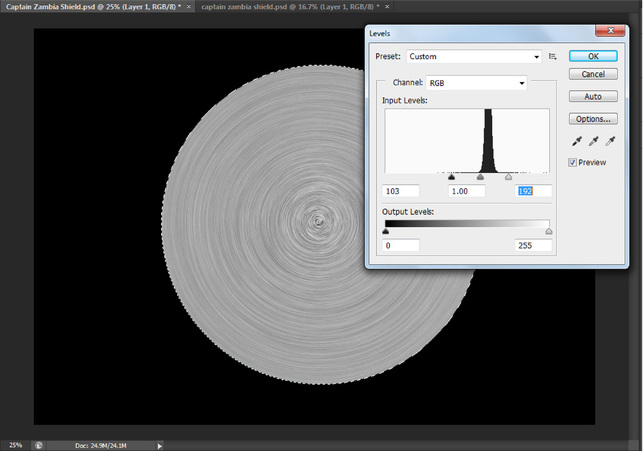
STEP 8
Change the Blend Mode to Soft Light at 100% Opacity. 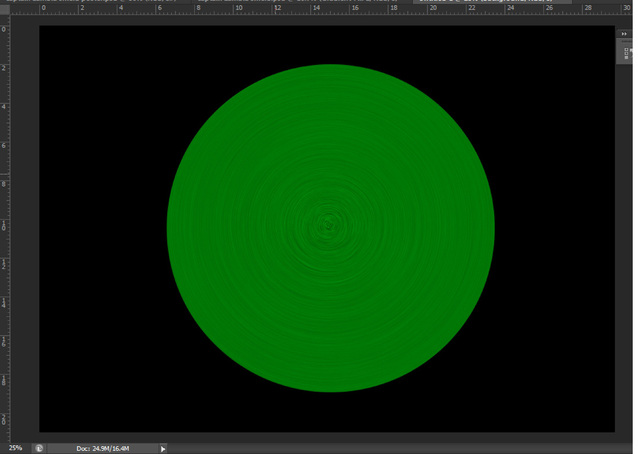
STEP 9
Repeat the same thing now to create the grey circle of the shield. 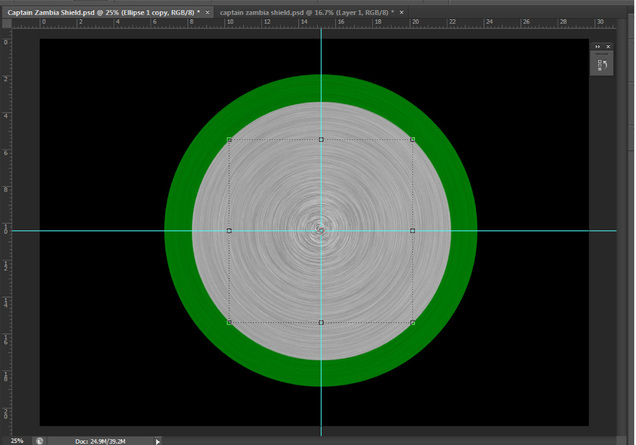
STEP 10
Repeat the same steps to create the 3 other circles. The third circle should be orange (ff8c00). Notice that for each object I created the radial brush effect. 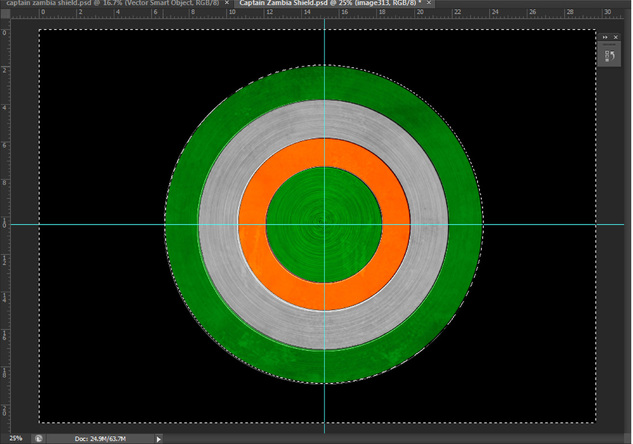
STEP 11
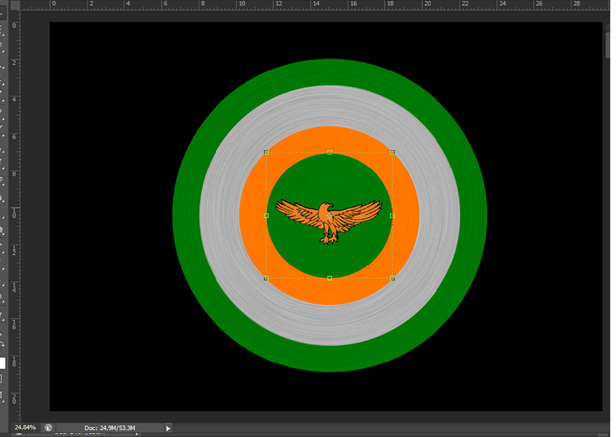
Add the fish eagle PNG to the last green circle. 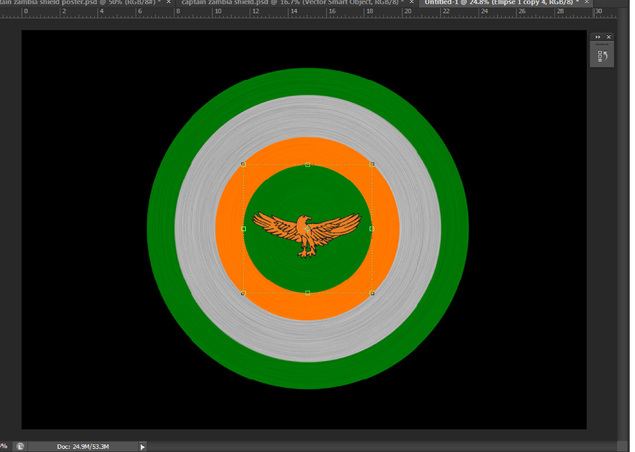
STEP 12
Add an inner shadow and drop shadow with the values shown below. 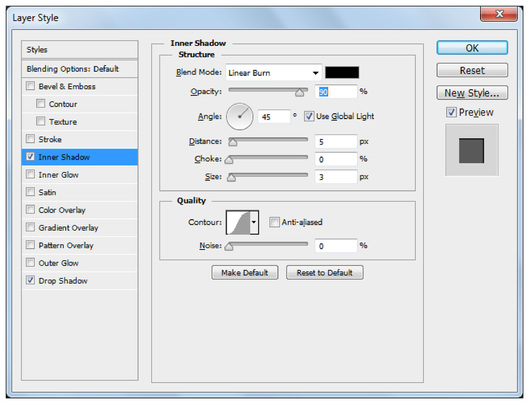
Below should be the end result.
STEP 13
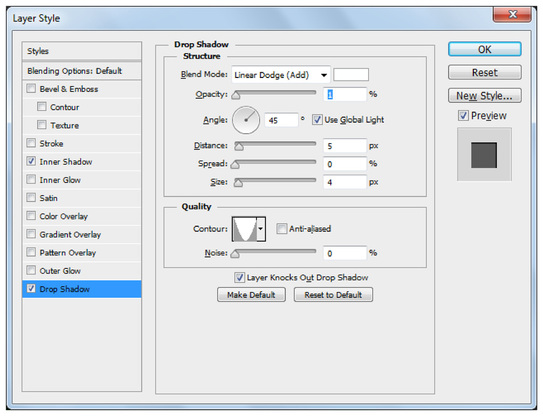
Time to add some realism to the shield. First thing to do is use Layer Styles. Go to Layer>Layer Styles>Drop Shadow. Use white for the color, LInear Dodge (Add) for the Blend Mode, 45º for the Angle, 5 pixels for the Distance and 4 pixels for the Size. Also change the Contour for the one I am using in the image below. 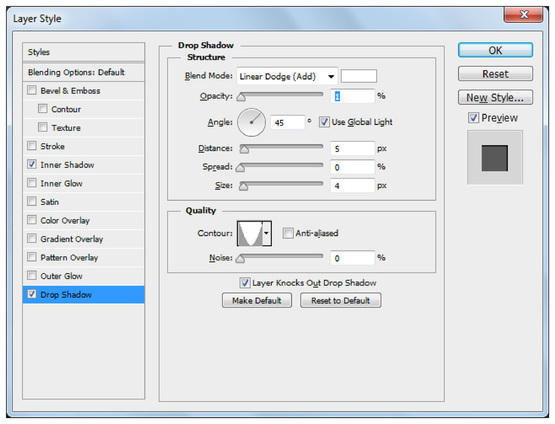
STEP 14
Select Inner Shadow. Use Linear Burn for the Blend Mode, black for the color, 90% for Opacity, 45º for the Angle, 5 pixels for the Distance, 0% for the Choke and 3 pixels for the Size. Alos use the same Contour style I am using in the image below. 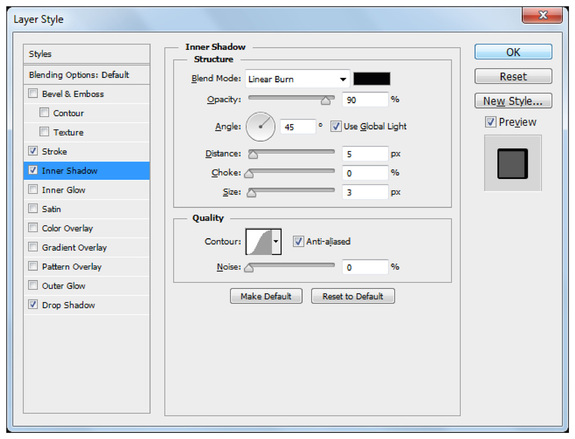
STEP 15
Select Stroke. Use 2 pixels for the Size, Inside for the Position and black for the color. 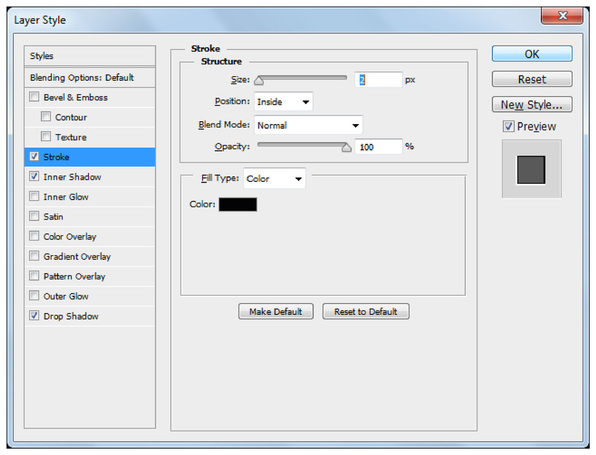
STEP 16
Apply the layer style on all circles. You migh have to make a few adjustments depending on the size of your design. 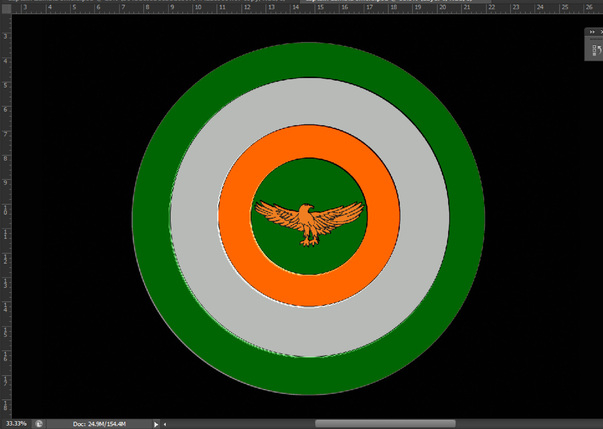
STEP 17
Time to add some textures. The one I am using is courtesy of Shutterstock and you can find it at http://www.shutterstock.com/pic-20761540/stock-photo-metal-plate-background-texture.html 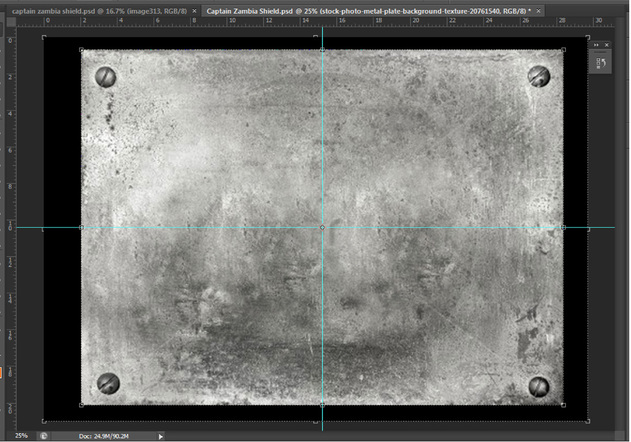
STEP 18
Apply the circle mask on it and also change the Blend Mode to Soft Light. 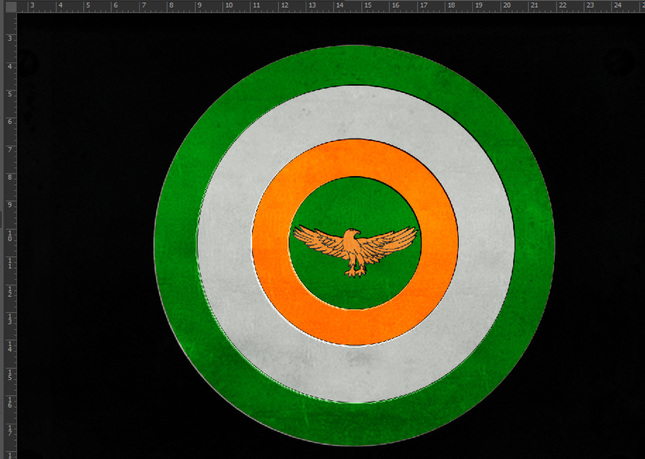
STEP 19
Import a new texture, you can find it in the zip folder at the top of the page. Also paint with white using the Brush Tool (B) and a very soft brush. This white will be important for the blend mode in order to create some highlights. 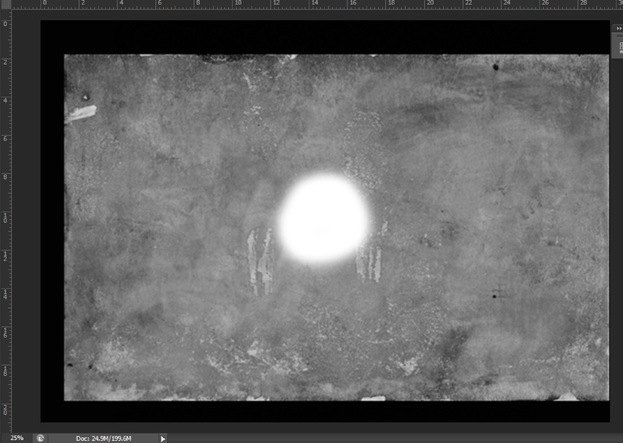
STEP 20
Change the Blend Mode to Color Burn at 30%. 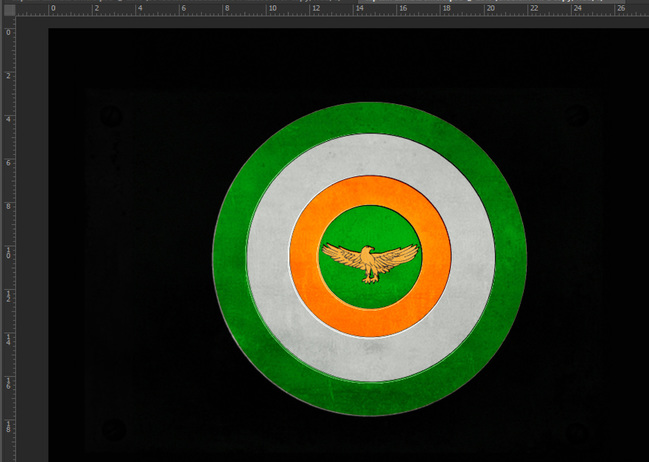
STEP 21
Add a new layer and using the Gradient Tool (G) with the Angle Style, fill the layer with a gradient using black and white. As you can see from my image I created a custom gradient for this effect. 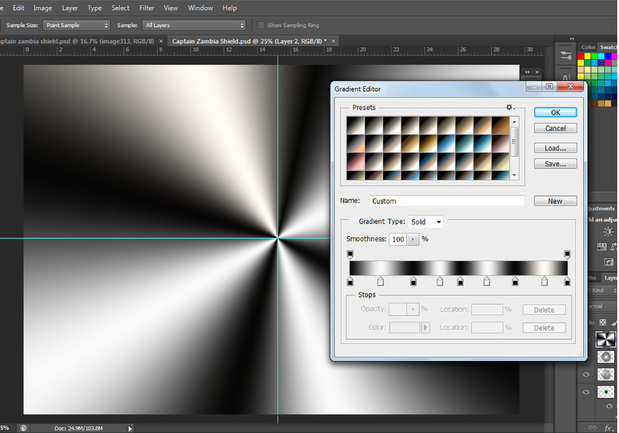
STEP 22
Change the Blend Mode to Overlay at 80%. 
STEP 23
Add a new layer on top of the others and then create a marquee selection of the circle area. Then go to Filter>Render>Clouds.Make sure you have black and white for the background and foreground colors. 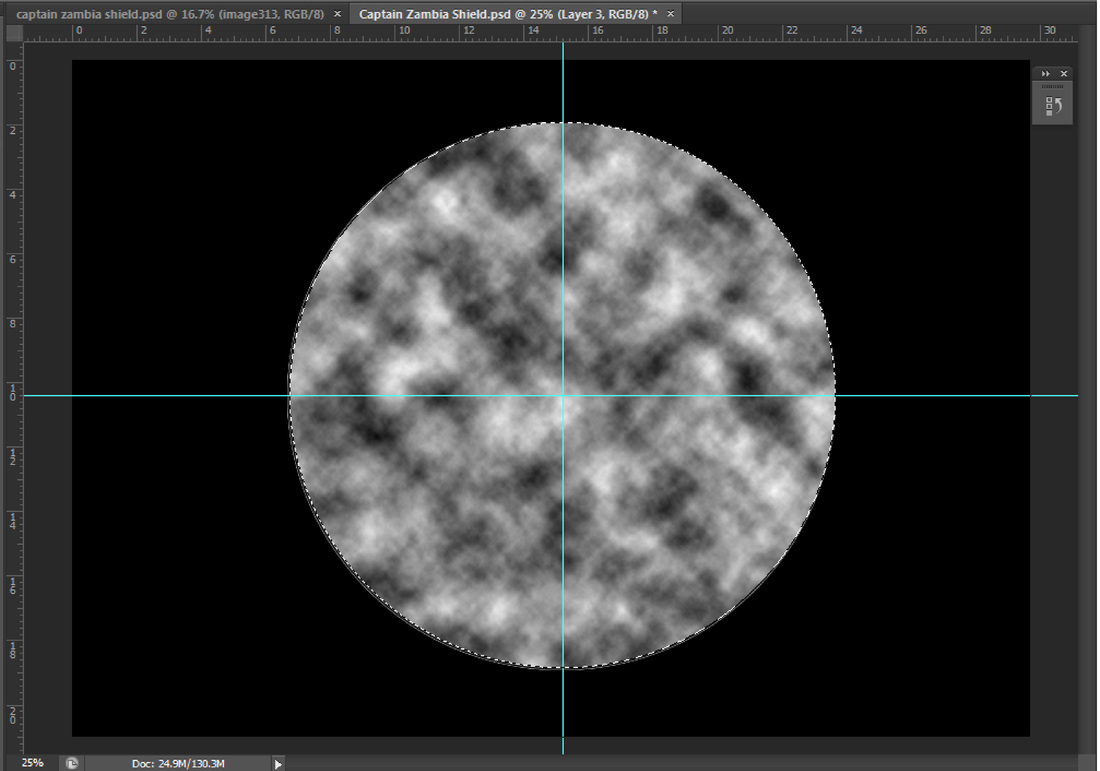
CONCLUSION
Change the Blend Mode to Soft Light at 50% Opacity. Select all layers and duplicate them, after that merge all the new layers into a new one via Layer>Merge Layers. With the new layer selected go to Image>Adjustment>Desaturate. Change the Blend Mode to Soft Light at 50%. As you can see the whole process was quite simple, we used basic filters and textures. The secret was the Blend Modes to create the light effects necessary to give realism to the scene. 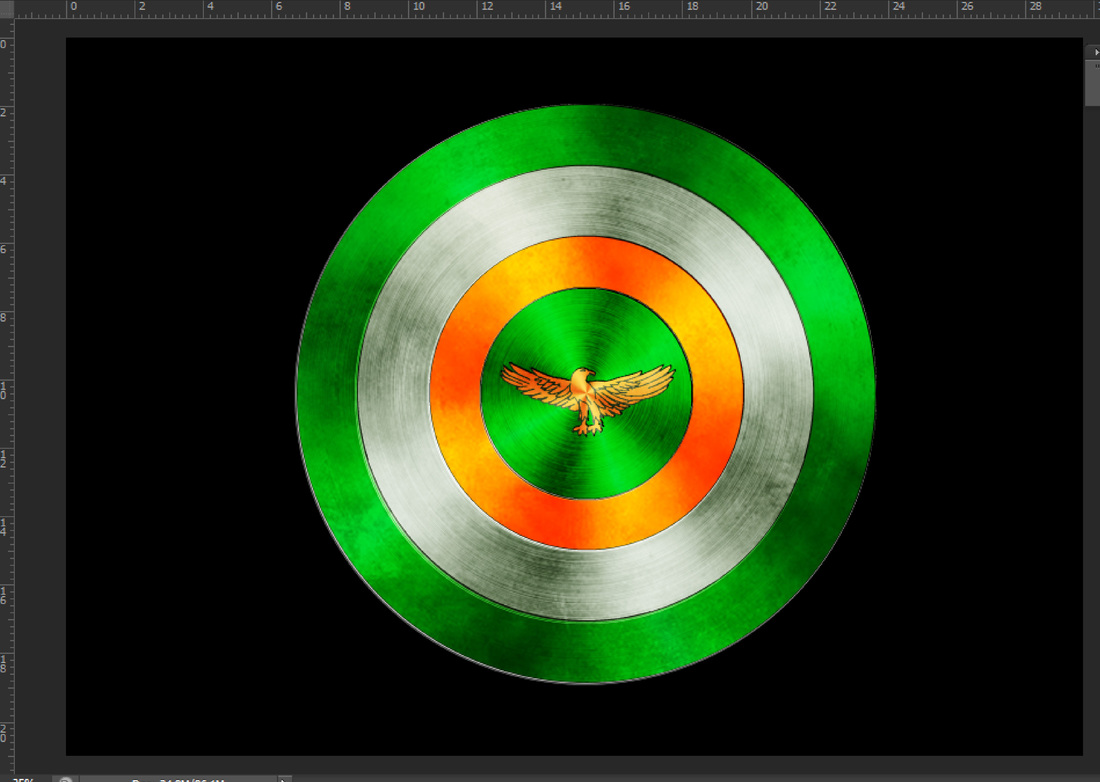
Widget is loading comments...
| ||||
